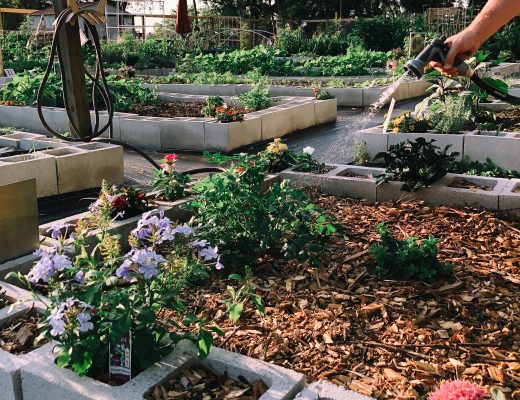
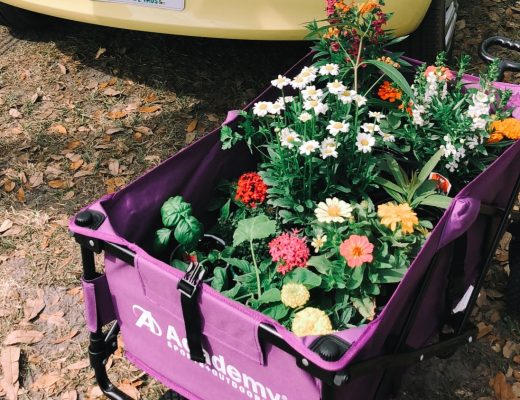
Spring is a great time to begin a vegetable garden in Central Florida. There are many vegetables that thrive off the full sun this time of year provides, as long as you allow enough time for the plants to mature before the summer heat rolls in. Because we got started in March, we knew we had to seize the spring time we had left and got to work quickly by using a mixture of transplants and seeds.
In my last post, I briefly mentioned the vegetables, herbs, and flowers we planted first in the garden. Now let’s take a more detailed tour of our spring garden vegetables!
Yellow Squash & Zucchini
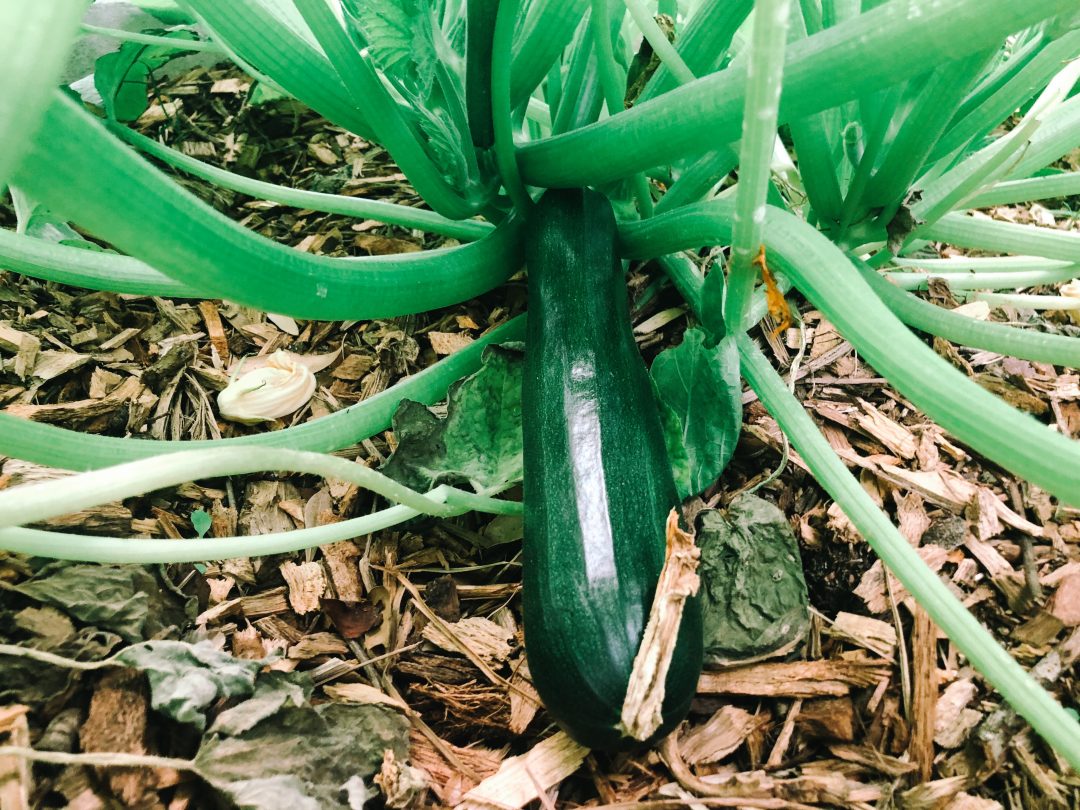
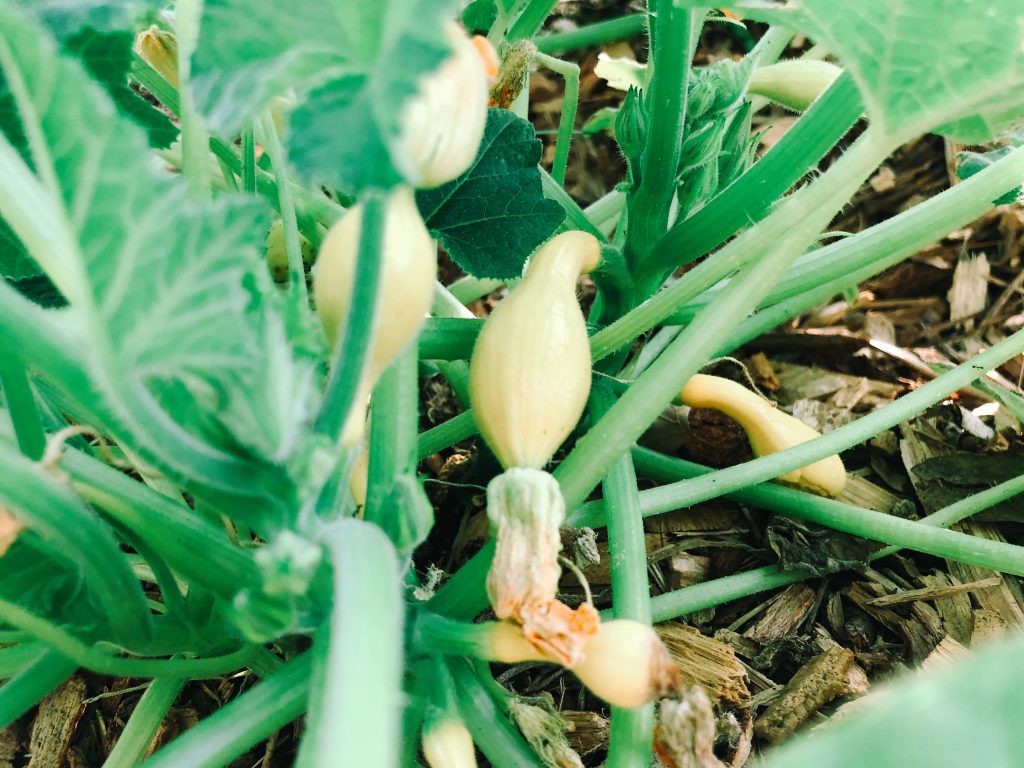
Starting at the East end of our garden, we planted the crookneck heirloom squash and black beauty heirloom zucchini. These are among my top five favorite vegetables and they do exceedingly well for first-time gardeners. We bought one of each plant, plus seeds and planted them about 4 to 6 inches apart. We didn’t realize how big squash plants get and next time know to give them more room!
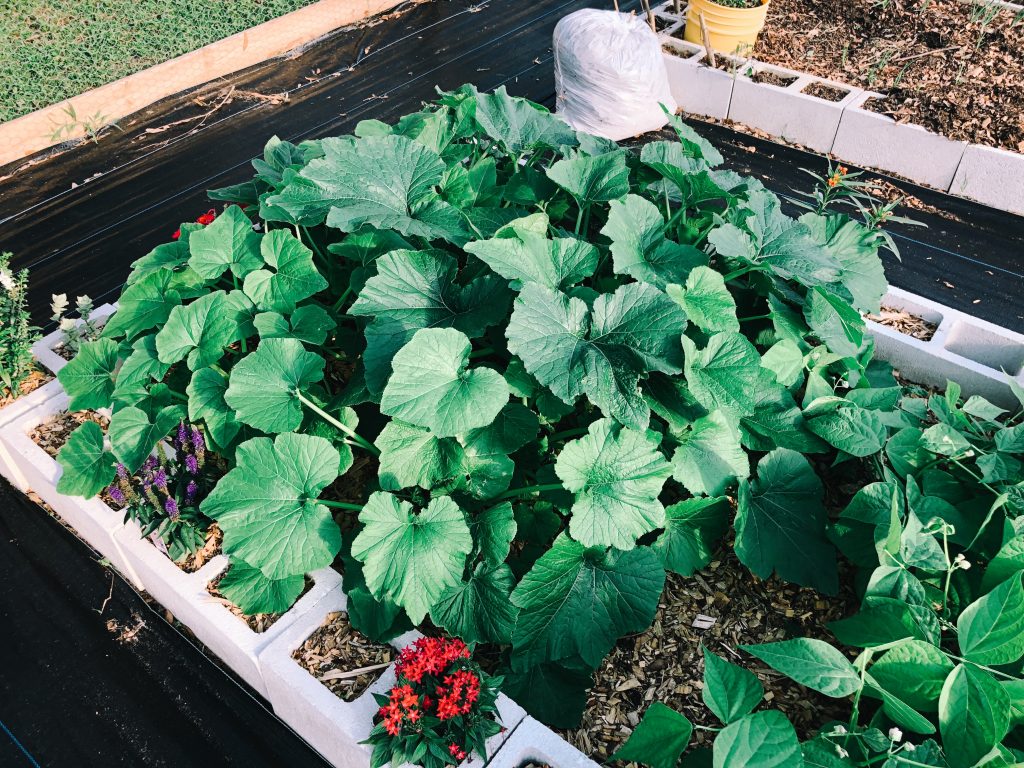
We also made the mistake of planting these guys in the shadiest part of our garden. They grew fine, but were more susceptible to powdery mildew on the tops and bottoms of the leaves. Powdery mildew is a fungal disease that loves to grow on squash plants that don’t dry fully in the sun. You can see why we would have a problem. Luckily, one of our fellow community gardeners had a great non-chemical control recipe that helps prevent powdery mildew from forming.
Spinach
Spinach was on the list of edibles to plant in March, though we later found out that they do better in cooler temperatures. We started off with seeds and planted two rows of six. Unfortunately, they were hit pretty hard when the worms decided to move into our plot and half of the small sprouts didn’t survive. The other half were engulfed by the large zucchini plants next to them, thus not receiving enough sunlight to grow. We ended up removing the spinach plants to give the thriving zucchini and green beans more room.
Green Beans
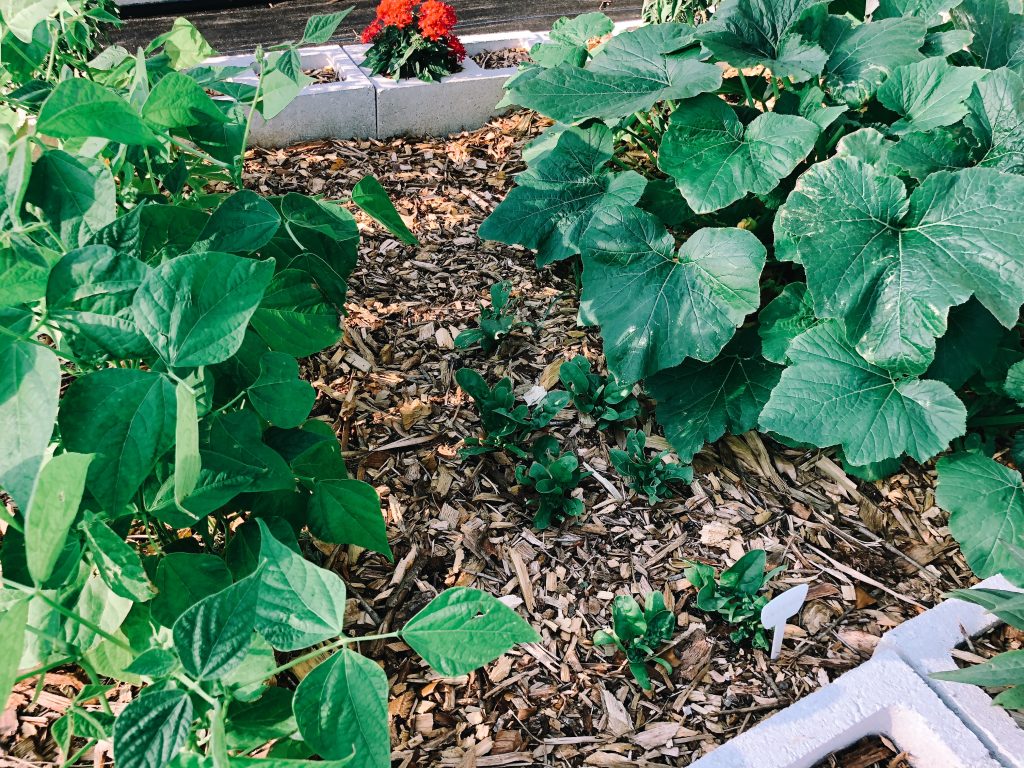
We planted these bush-type beans from seeds in a single row. I chose the bush variety because I didn’t want to have to worry about building a support structure for them to grow along. These were one of the quickest plants to sprout, taking only about 10 days to see them push through the soil. Fast-forward to early May and we harvested our first full serving of these guys!

We ended up building a rudimentary structure to support the green beans because they got pretty large and started crowded the swiss chard next door.
Swiss Chard
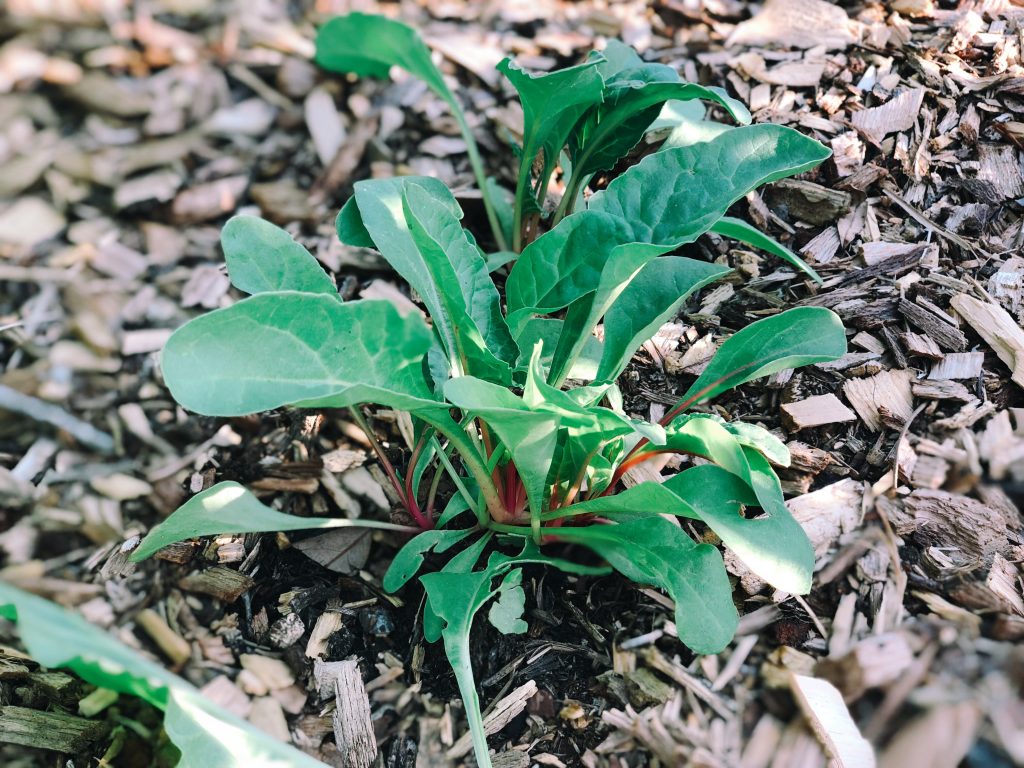
Justin wanted to add swiss chard to our list of spring vegetables so he would have some mixed greens to use in salads. Just like the spinach, we planted these from seeds and the worms feasted on the tiny sprouts, wiping out about half the plants. The two that survived the worms still had to fight against the green beans in terms of space and sunlight. The small structure we built to contain the green beans allowed the swiss chard to continue to grow, though the leaves still show the damage caused by the worms.
Carrots
Carrots were another plant we should have waited to grow during the cooler months, but they still grew from the seeds pretty well. As of early May, half of the original plants have survived, though they take quite a long time to mature. Doing some research, I learned that most carrot varieties takes 75 days or more to produce a mature fruit and are ready to harvest when their “shoulders” are ½ to ¾ inch in diameter. Based on when we planted these guys, it looks like mid- to late-June will be a good time for us to harvest. I’ll keep you updated!
Tomatoes
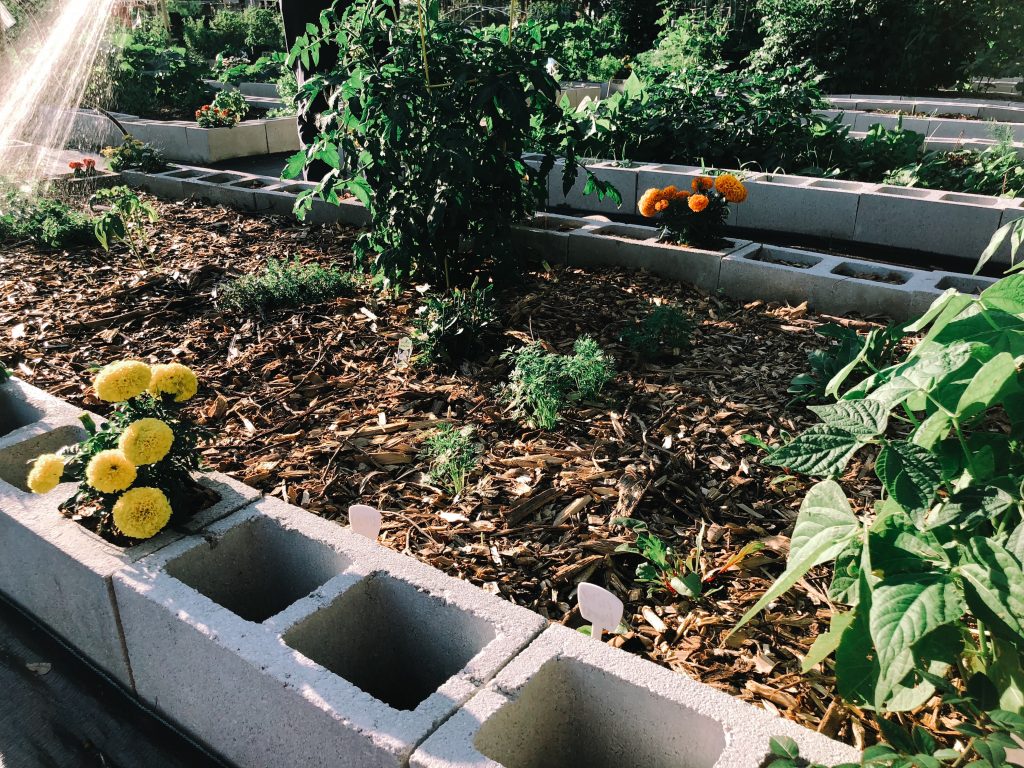
About a month after starting on the garden, we decided to add a tomato plant. This has been the most difficult plant to keep healthy, as the worms are absolutely in love with it. Justin has spent countless hours hand-picking the tiny worms off the underside of the leaves and spraying a concoction I made to prevent their return.
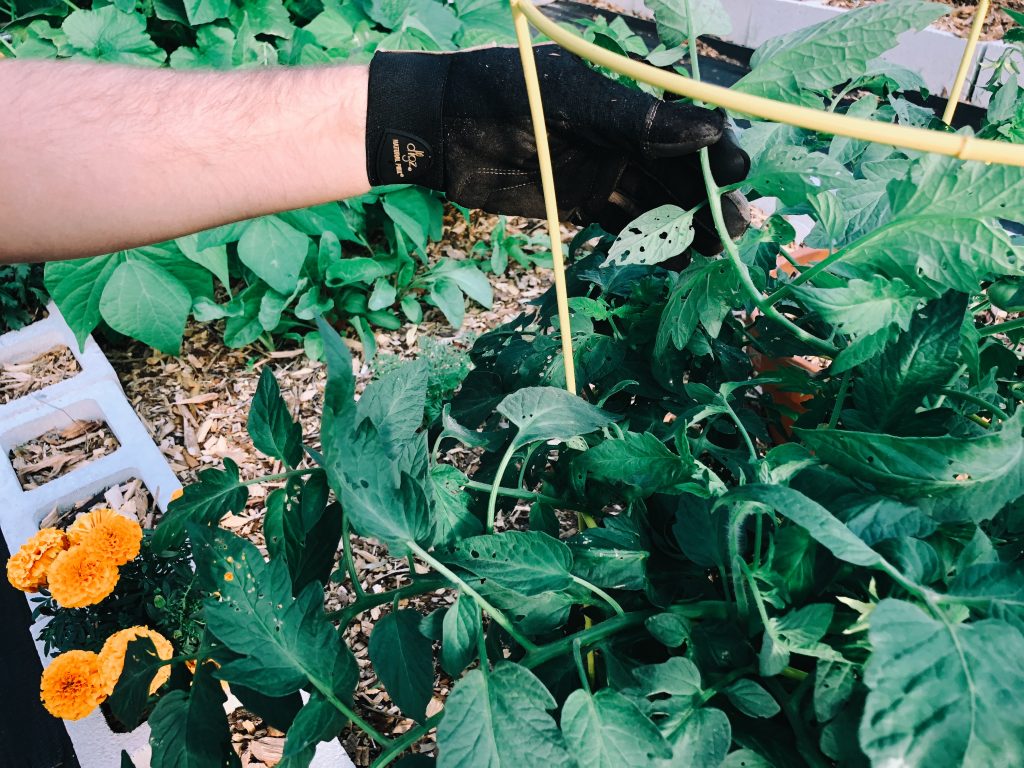
There are two large clusters of about 5 tomatoes each currently growing on the single tomato plant, but none are ready for picking. Again, I’ll keep you updated on when we actually get to reap the tomato harvest.
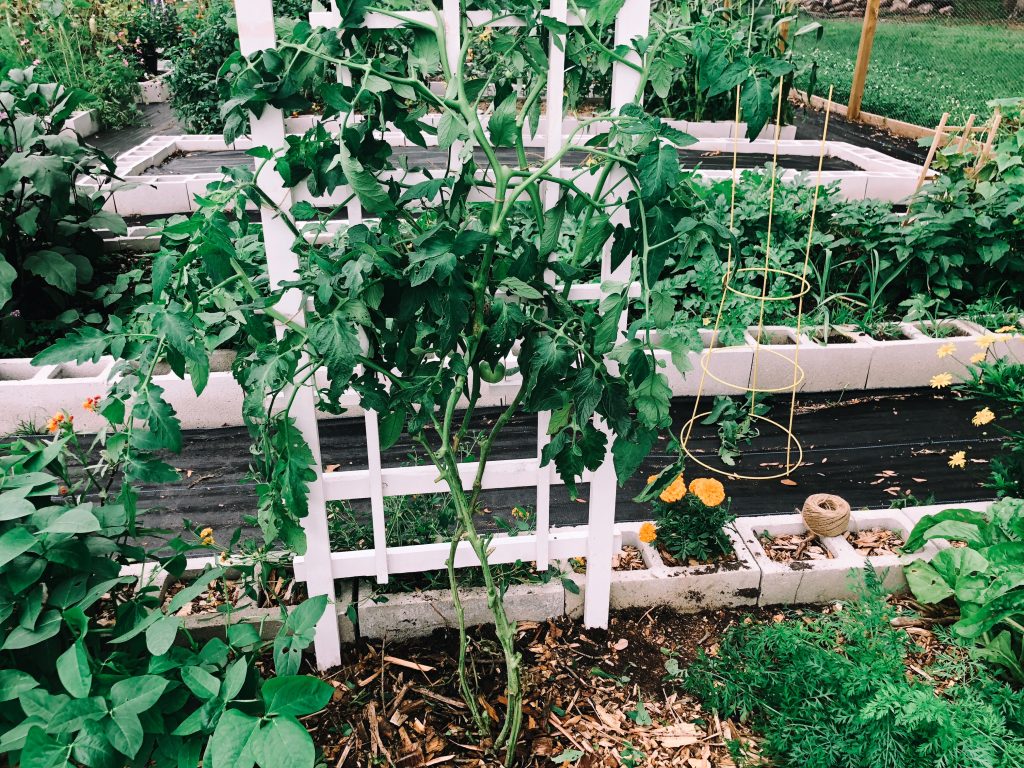
Update: While the tomato plant is thriving and growing larger each day, we haven’t been able to harvest any fruit. The worms get to the almost-ripe ones before we have a chance to pick them and the tomatoes end up rotting on the vine. Looking around at other plots, we’ve noticed a technique where the plant grows up a trellis instead of in a cage. Read this post to learn how we converted our caged tomato into a trellis-trained plant!
Cowpeas
The garden typically shuts down during the months of July and August because of the incessant heat and summer storms. So we decided toward the end of April to fit in two more crops before the garden was set to close. We chose black eyed peas and cucumbers because they have some of the shortest grow times for spring/summer crops.
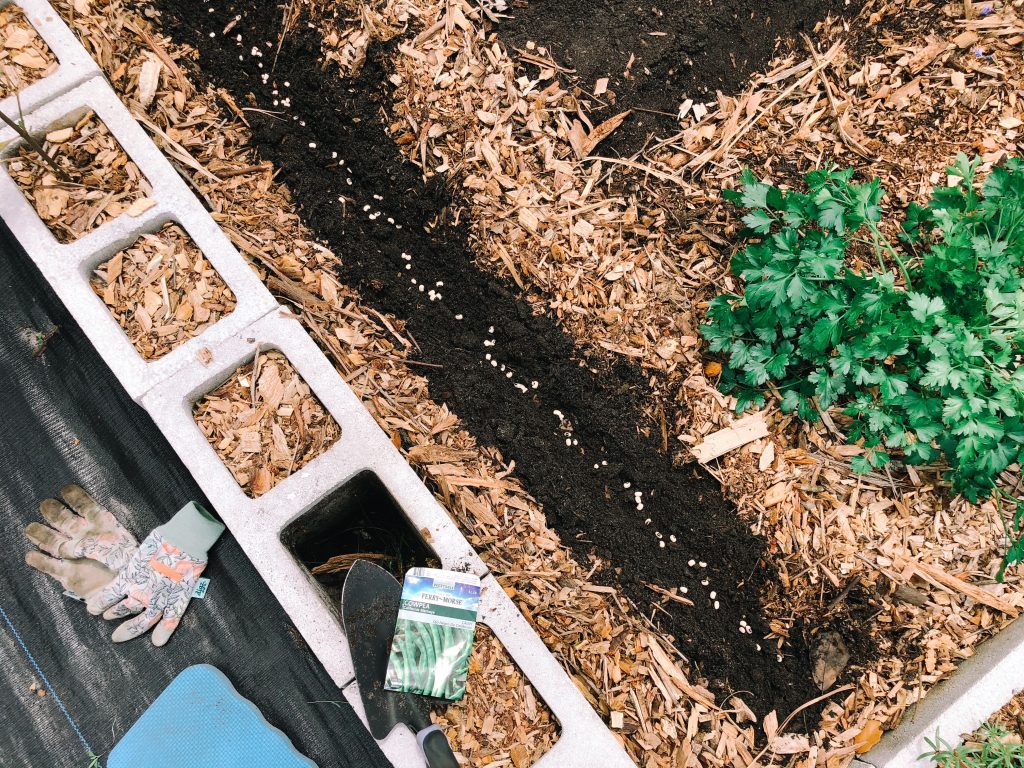
We decided to move the thyme and oregano to form a horizontal line with the tomato, allowing us to fit in the cowpeas vertically on the west end of the plot and the cucumber horizontally between the herbs.
Just like the green beans, the cowpeas have been one of the easiest and quickest plants to grow! As of late May, we haven’t seen any flowers yet, but we can’t wait to harvest these.
Cucumbers
When we originally bought the seeds for the cucumber, I didn’t think we would need a trellis for them to grow along. But because of how small the space is, up is really the only way to go! So we bought two small trellises from Lowe’s and used twine to gently pull the vines and train them up.
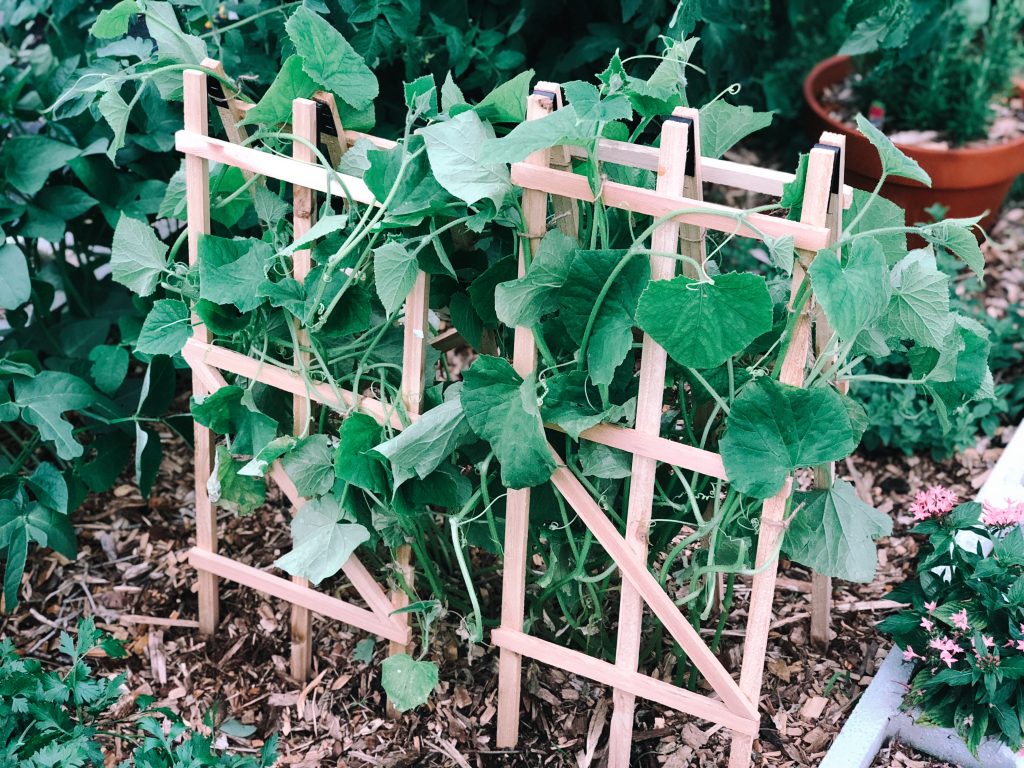
Hopefully they won’t outgrow these small trellises!
In my next post, I share the flowers we are growing this spring.

